What Is a User Role?
A user role defines a specific type of user within a product and outlines the set of permissions granted to that user.
When creating your product, you will be asked to create your product’s User Roles. A User Role must be created for each type of user that will login and access your product.
User Roles and Concepts work together to create a product’s information hierarchy. We recommend reading Get Started: Concepts to get a thorough understanding of how User Roles and Concepts work together.
Internal VS External User Roles
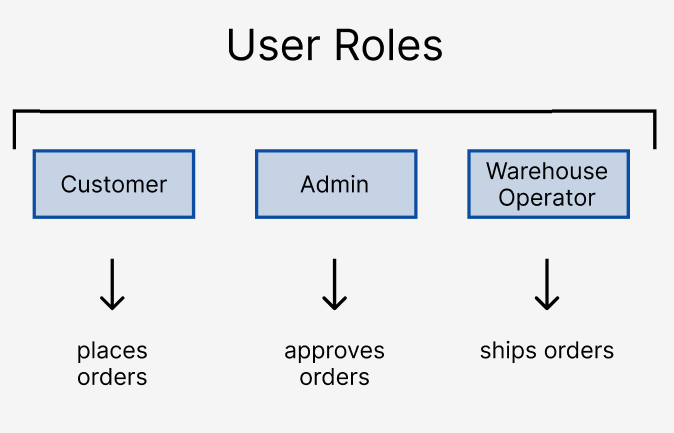
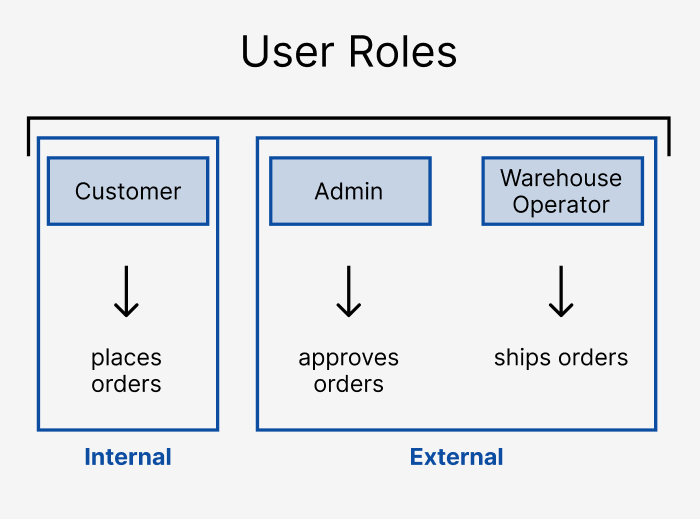
A User Role can either be internal (part of the organization), or external (a customer). For example, an Administrator who is approving orders would be an Internal User, and a Customer placing an order would be an External User.
When creating an External User Role, the underlying Concept also gets created.
What Happens When a User Role Is Created?
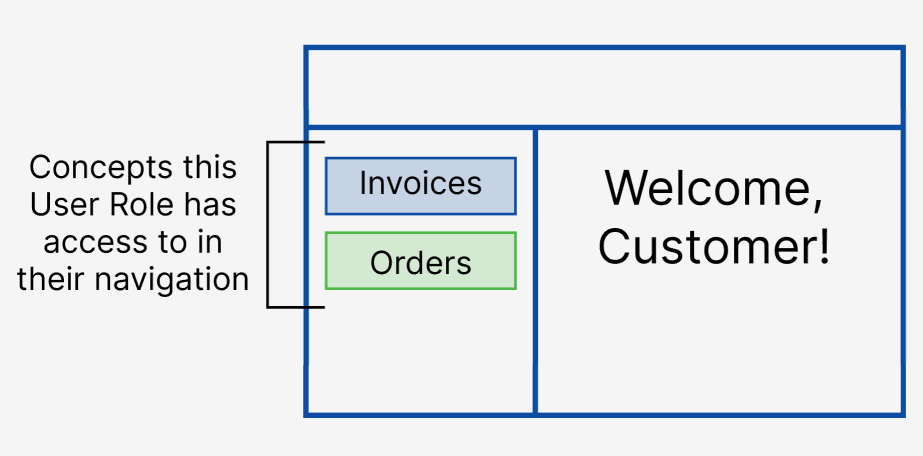
Each User Role will have their own Portal that can be configured to provide the user experience required. When creating a User Role, you will be asked to define the Concepts which the User Role will have access to. These Concepts will define what the user sees in their navigation menu.
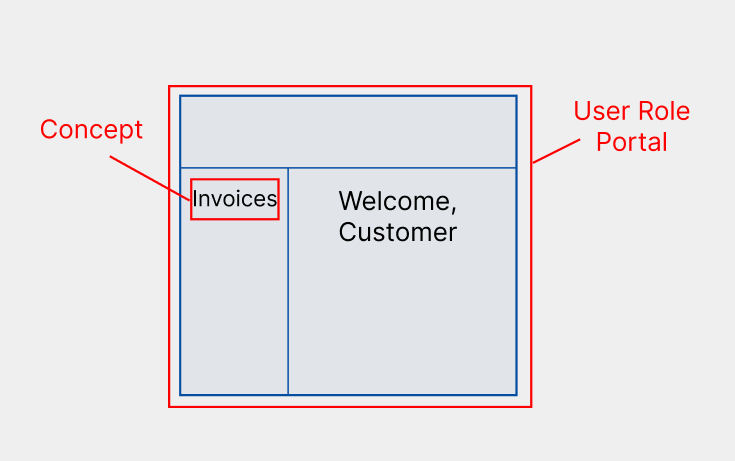
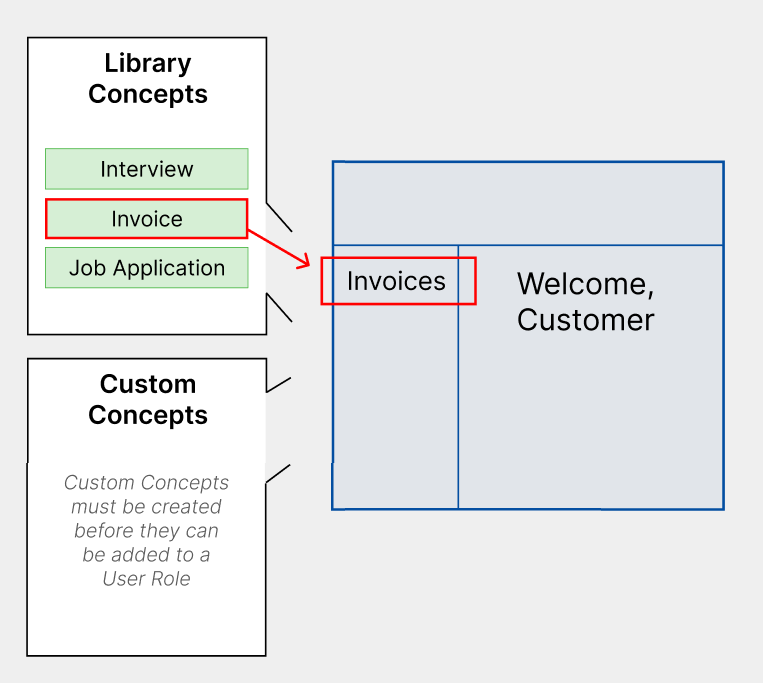
For example: if you want a Customer User Role to have access to their Invoices in their navigation menu, Invoices will need to be added as a child Concept to the User Role. Since Invoice exists as a pre-built Concept in the Concept Library, it can be added directly from the Concept Library.
Assigning Concepts to User Roles
Since the Concepts in the Concept Library exist as pre-built Concepts, they can be added directly to the list of child Concepts the User Role will have access to. If the Concept that your product requires does not exist as part of the Concept Library, you must first create it as a Custom Concept Form Definition before it can be added to the list of Concepts the User Role will have access to.
Note: By default, you will be granted the Admin role for your new workspace. This will allow you to modify the user experience for each User Role. In order to restrict this functionality from other users, we recommend creating at least one User Role, which will allow you to define specific permissions and access levels.
Creating a User Role
When creating a User Role, you will be asked to provide the following information:
Name
Your User Role’s singular name. For example: if this User Role will be assigned to Customers, the singular name to enter would be Customer.
What Does This Type of User Do?
This will be used as part of your internal documentation to further describe the User Role.
Role Type
Is this User Role part of your organization, or are they external? For example, an Administrator who is approving orders would be an Internal User, and a Customer placing an order would be an External User.
Plural Name
Your User Role’s plural name (example: a Customer User Role’s plural name would be Customers) – this will be used on the admin side of your application (ex. your administrators will be able see a list of all Customers).
Initial State
When a new user is created and has been assigned this role, what is the initial State of the User Role? For example: a Customer might start off as a Lead initially, then move to a Qualified State once they pass the qualification process. They might further move to an Active Customer State once they officially get signed on as a Customer. Additional, example States might include Suspended (i.e. if the Customer isn’t paying their bills), or even Inactive (i.e. if the Customer decides to stop making purchases).
If your User Role doesn’t have Lifecycle State transitions, then we suggest calling the default State Active.
List of Referenced Library Child Concepts
Which Library Concepts do you want to give this User Role access to? These Concepts will be available to all users with this User Role upon logging in, in the navigation menu.
List of Child Concepts
Which custom Concepts do you want to give this User Role access to? These Concepts will be available to all users with this User Role upon logging in, in the navigation menu. If you’ve already created the custom Concept you need, you can add it here.